Explore Our Free AI Tools
From high-quality face swaps to advanced AI generators, explore all of Fakeface's free tools in one place.
Photo Face Swap
Swap faces in photos instantly
GIF Face Swap
Create hilarious face swap GIFs
Multiple Face Swap
Swap each face with a different one
Batch Face Swap
Replace all faces with one click
Swap Faces in 3 Easy Steps
With just 3 simple steps, leave the rest to us, and craft your dream face swaps in minutes.

Upload videos, photos, or GIFs

Upload a facial photo

Create your face swap masterpiece
Efficient Face Swap Speed
Our AI face swap technology delivers lightning-fast processing speeds, ensuring you get your results quickly without compromising on quality.
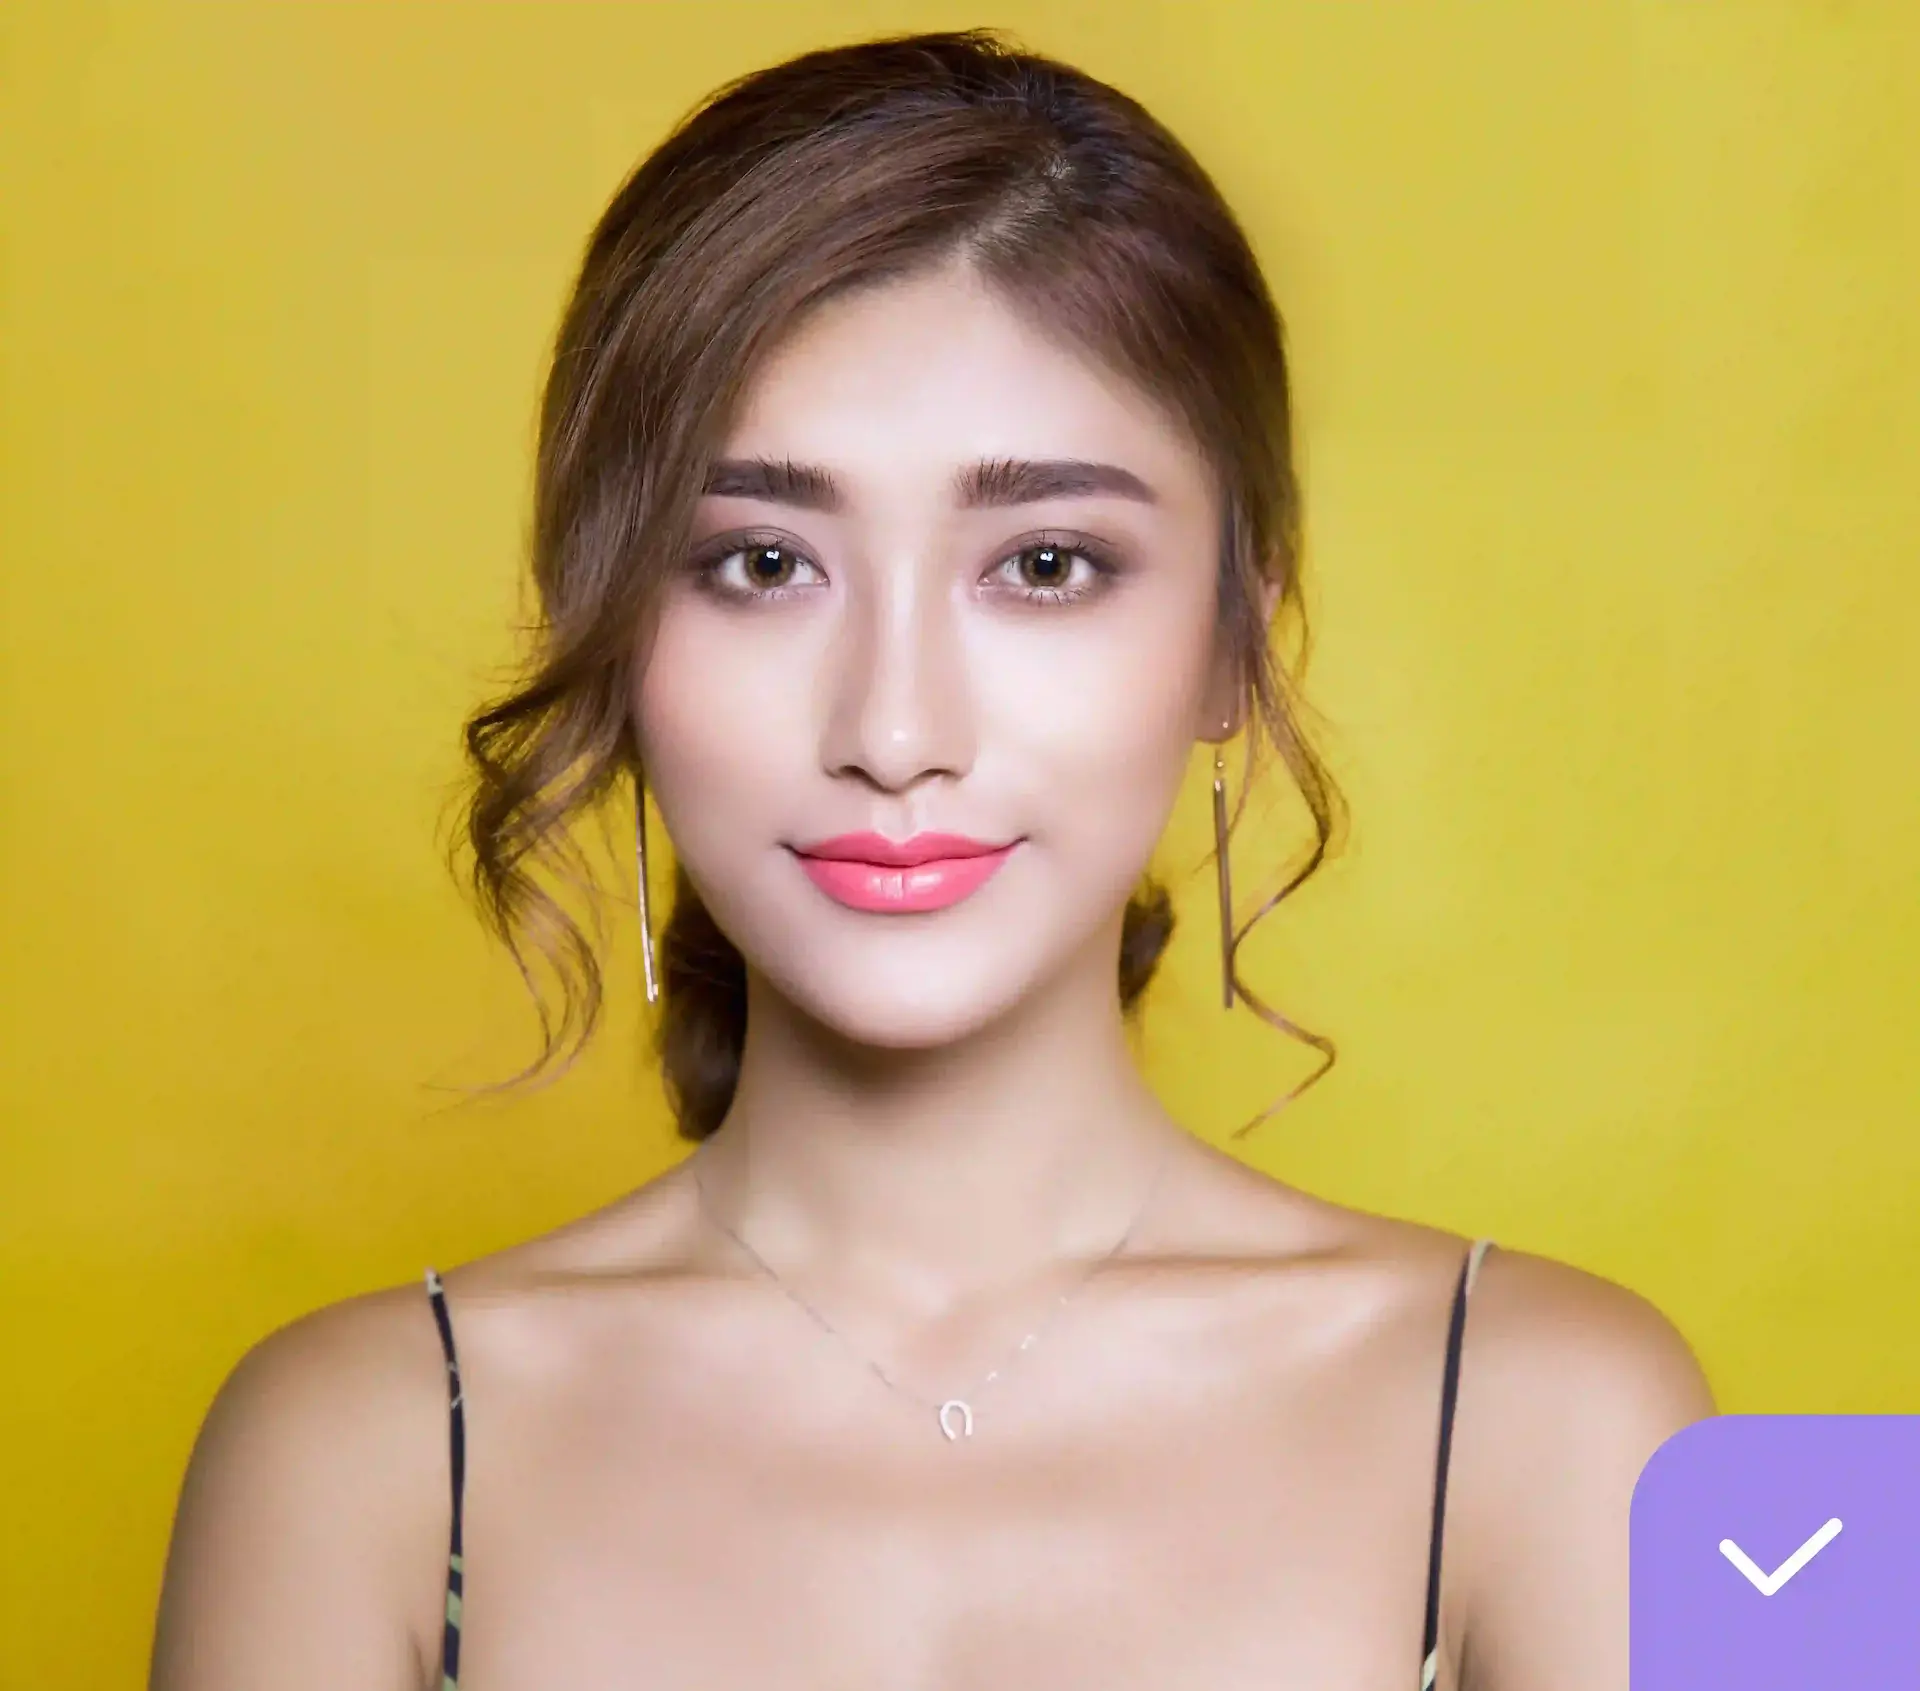
Superior Quality Face Swaps
Experience unparalleled quality in face swapping with our advanced AI technology. Every detail is preserved with stunning accuracy and natural-looking results.
Fakeface
Crystal clear, perfect details
Other Platforms
Standard quality

Proprietary Face Swap Technology
Powered by cutting-edge AI models trained on millions of images

Seamless Face Swaps Across Media
Work with any media format - videos, photos, or GIFs
Video Face Swap
Photo Face Swap
GIF Face Swap
Endless Possibilities with AI Face Swap
From professional video production to creative entertainment, discover how Fakeface empowers creators across industries
Content Creation
Create engaging social media content with AI face swap technology. Generate viral face swap videos for YouTube, TikTok, and Instagram that captivate audiences with seamless face swap transformations.
Video Production
Integrate professional face swap effects into films, commercials, and video projects. Our face swap technology eliminates costly reshoots and streamlines post-production workflows.
Photo Editing
Master photo face swap editing for portfolios, presentations, and creative projects. Create stunning face swap photos with artistic compositions and professional-grade results.
Entertainment & Fun
Experience celebrity face swap and create hilarious face swap memes with friends and family. Our AI face swap tool brings endless entertainment and creative fun to every project.
Marketing Campaigns
Leverage face swap marketing to create personalized advertisements and promotional content. Test different face swap variations in campaigns before expensive photo shoots.
Special Effects
Add Hollywood-quality face swap special effects without complex software. Our AI face swap delivers professional face swap results instantly, transforming your creative vision into reality.
Outperforming Others with Our Face Swap Solutions
Undoubtedly surpassing its competitors in the field of face swapping, Fakeface stands as the undisputed leader, holding a distinct advantage. Its exceptional performance and unparalleled results set it apart, making it the preferred choice for those seeking the finest in face swap technology.
More Reasons to Choose Fakeface
Discover the unmatched speed, quality, and ease that set Fakeface apart from every other face swap tool online.
Privacy Protected
Your face swaps are processed securely and never stored
Lightning Fast
Get results in seconds with our optimized AI
Works Anywhere
Access from any device with an internet connection
Secure Processing
End-to-end encryption for all your uploads
Award Winning
Recognized as the best AI face swap tool
24/7 Support
Get help whenever you need it from our team
Mobile Friendly
Optimized for both desktop and mobile devices
Cloud Based
No downloads required, works in your browser
Frequently Asked Questions
Find answers to common questions about Fakeface
What is Fakeface?
Fakeface is a comprehensive one-stop AI tools platform that specializes in face-related AI technologies, including online face swap, video generator and more. We continuously launch the latest AI tools to help users create stunning content with cutting-edge artificial intelligence technology.
What is AI face swap and how does it work?
AI face swap uses advanced artificial intelligence and deep learning algorithms to seamlessly replace faces in photos, videos, and GIFs. Our technology analyzes facial features, expressions, and lighting to create natural-looking results that maintain the original emotion and movement.
Is Fakeface free to use?
Yes! Fakeface offers free daily credits you can use for face swapping in videos, photos, and GIFs—no payment needed. Just log in to start creating for free. Want faster speeds or more credits? You can always upgrade, but the magic starts at zero cost!
What file formats are supported for face swap?
Fakeface supports all major image formats (JPG, PNG, WEBP), video formats (MP4, MOV), and animated GIF files. You can upload files up to 2GB for processing, ensuring compatibility with most content creation workflows.
How long does it take to process a face swap?
Our AI technology processes most photos instantly (1-2 seconds), videos in 10-30 seconds depending on length, and GIFs in 5-15 seconds. We're constantly optimizing our algorithms to deliver the fastest face swap experience in the industry.
Can I use Fakeface for commercial projects?
Yes, you can use Fakeface-generated content for commercial purposes with our premium plans. Please ensure you have proper rights to all source materials and comply with our terms of service and applicable laws regarding deepfake content.
How accurate and realistic are the face swap results?
Fakeface delivers industry-leading accuracy with our proprietary AI models. Our technology preserves facial expressions, skin tones, lighting conditions, and even subtle details like shadows and reflections, resulting in photorealistic face swaps that are virtually indistinguishable from original content.
Is my uploaded content secure and private?
Absolutely. We take privacy seriously. All uploads are encrypted, processed securely, and automatically deleted from our servers after 7 days. We never share, sell, or use your content for any purpose other than providing the face swap service.
What makes Fakeface better than other face swap tools?
Fakeface combines superior AI technology with unmatched speed and quality. Our proprietary algorithms deliver 5x faster processing, higher resolution outputs, better facial feature preservation, and more natural-looking results compared to competitors.
Does Fakeface add watermarks to my face swap results?
No, Fakeface does not add watermarks to your face swap results. All generated content from our free and premium tools is completely watermark-free, giving you full creative freedom to use your AI face swap photos, videos, and GIFs anywhere without any branding restrictions.
What Users Say
FakeFace's AI Face Swap Video feature is simply mind-blowing! It's like magic, transforming my videos into something extraordinary. Can't believe how easy it is!
Using FakeFace's Swap Face Video Online has revolutionized my editing process. Seriously, it's a breeze now, and my videos look better than ever!
Massive shoutout to FakeFace's Video Face Swap Online! It's incredibly user-friendly, and the results are stunning. My videos now stand out from the crowd!
Thanks to FakeFace's AI Video Face Swap, my editing skills have skyrocketed! Can't imagine creating content without it. Seriously, it's a lifesaver!
I'm absolutely addicted to FakeFace's Face Swap Online! It's my ultimate tool for video editing. The results are consistently professional and seamless.
Gif Face Swap Online from FakeFace is a complete game-changer! It brings a whole new level of creativity to my projects. I'm seriously impressed!
FakeFace's Face Swap Video Online tool is my secret weapon for video editing. Seriously, it's intuitive and delivers flawless results every time.
FakeFace's Swap Face Video is a game-changer! Seriously, it's so simple to use. Perfect for content creators like me looking to make an impact.
Ready to Transform Your Content?
Explore all our free AI tools and start creating amazing face swaps, videos, and more in seconds.